
Arduino is an open-source electronics platform with easy to use hardware and software. (http://www.arduino.cc) It’s developed to use in your projects where you need input and output. I like the Arduino very much for my robot projects. In my opinion the Arduino is a really “strong friend”. (See Wikipedia for explanation: http://en.wikipedia.org/wiki/Arduino )

This screenshot was made from Fritzing (http://fritzing.org)
In this project I would like to show you how fast you get results with the Arduino. I like to show you how to run your first program in three simple steps.
The three steps are:
- Download software
- Connect Arduino
- Open example program.
The Arduino works at 5V DC and can be powered by the USB port. You don’t need to do any soldering right now. In my example I use an Arduino Uno.
What do you need:
- Computer with Windows and Java
- An Internet Connection to download the software
- Arduino (In this example I use the Arduino Uno)
- USB cable (With type A and B connector: http://en.wikipedia.org/wiki/Universal_Serial_Bus)
Step 1 (Download Software)
As stated the Arduino is Open source and the software is available at the Arduino website. Arduino is a java application and installation is not needed. The only thing you have to do is download and unzip the file to a location of your choice. This development environment needs about 245 MB of space depending on the version. In this example I use version 1.0.
The software you need is available at www.arduino.cc at the Download section. Click on Windows (or another OS) and wait until the software is downloaded. Unpack the Zip file to a location of your choice. I have unpacked it on my Desktop. Start the arduino.exe in the created directory. The application will start without any installation because it uses Java.
Step 2 (Connect Arduino)
Drivers are needed to make the Arduino talk with your computer. Take the USB cable and connect the computer to a free USB port and connect the other side to the Arduino board.
Windows will start with the driver installation process, but will fail as shown in the following screen shot.

Open the Control Panel under the Windows menu (Start)
Go to System and Security in the Control panel.
Click on System and start the Device Manager.

In my Case you see a “Unknown device” under “Other devices” with an exclamation mark. In the documentation at the Arduino website they describe to look under Ports (COM & LPT) where you should find a port named “Arduino UNO (COMxx)”. This wasn’t the case in my situation.
Right click on the “Unknown device” or the “Arduino UNO (COmxx)” port and click on “Update Driver Software”.

Select “Browse my computer for Driver software”
![]()
In my case I get a security warning about the publisher of the driver software. I just ignore Microsoft and installed the driver software.

Navigate to the driver directory and Windows will find the Arduino driver and starts the driver installation. If everything went right you should see success. Notice this device is now at com 7.
Step 3 (Run program)
Now can we start with our first program for the Arduino Uno. This program is a example from the examples directory. If the first two steps are done without any problems you can start the Arduino development environment. Find the arduino.exe file in the unzipped directory. You should see the Arduino logo in the icon.

After the start of the program you should see something like this.
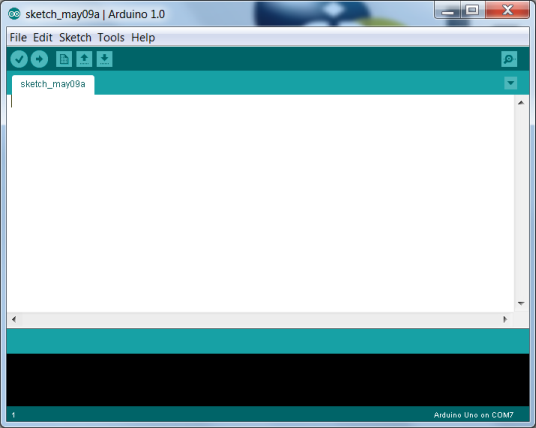
In this project we are going to use a piece of example code coming with the download.
Go in the File menu in the arduino application to “example” – “1.Basics” – “Blink”.

Select the right Com port under “Tools” – “Serial Port”
Verify the program by pressing the V in the upper left corner.
Press the arrow icon pointing to the right to upload your application. You see some flashing lights on your Arduino (L, TX, RX)
After a few seconds the L led is blinking steady and you have done your first Arduino project.
Have fun.